How to create and display banners
Plan: Enterprise | Version: 5.7+
This guide takes you through how to create and display banners.
Creating banners
Step 1: Navigate to the banners page
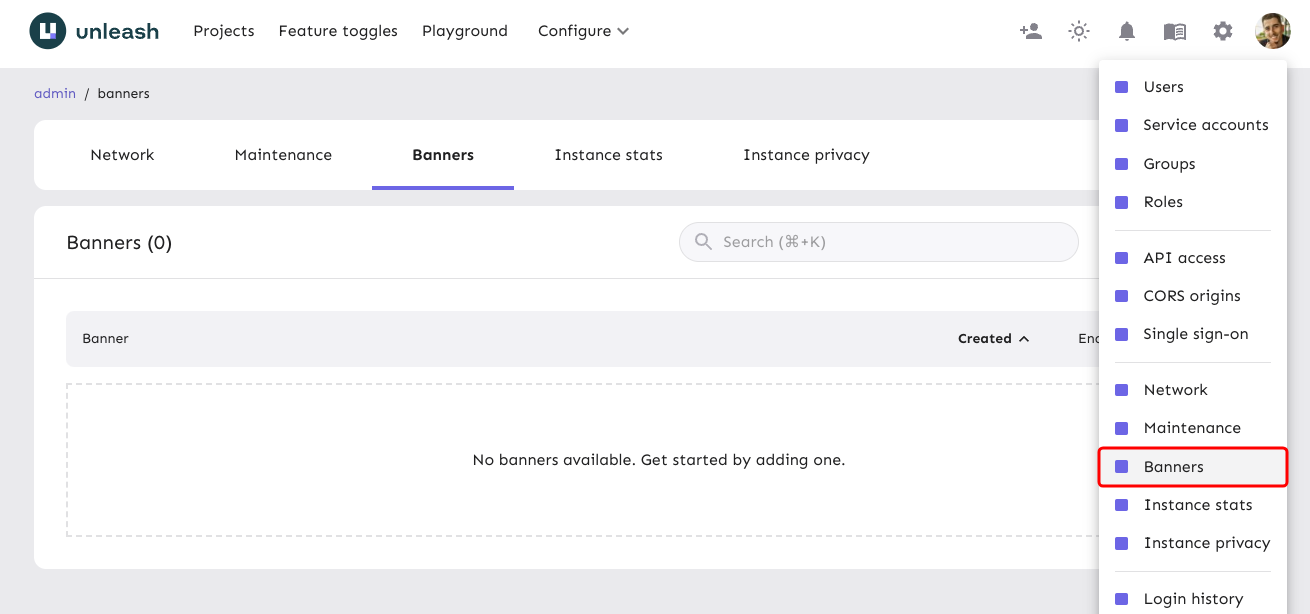
Navigate to the banners page in the admin UI (available at the URL /admin/banners). Use the settings button in the navigation menu and select "banners".
Step 2: Use the "new banner" button
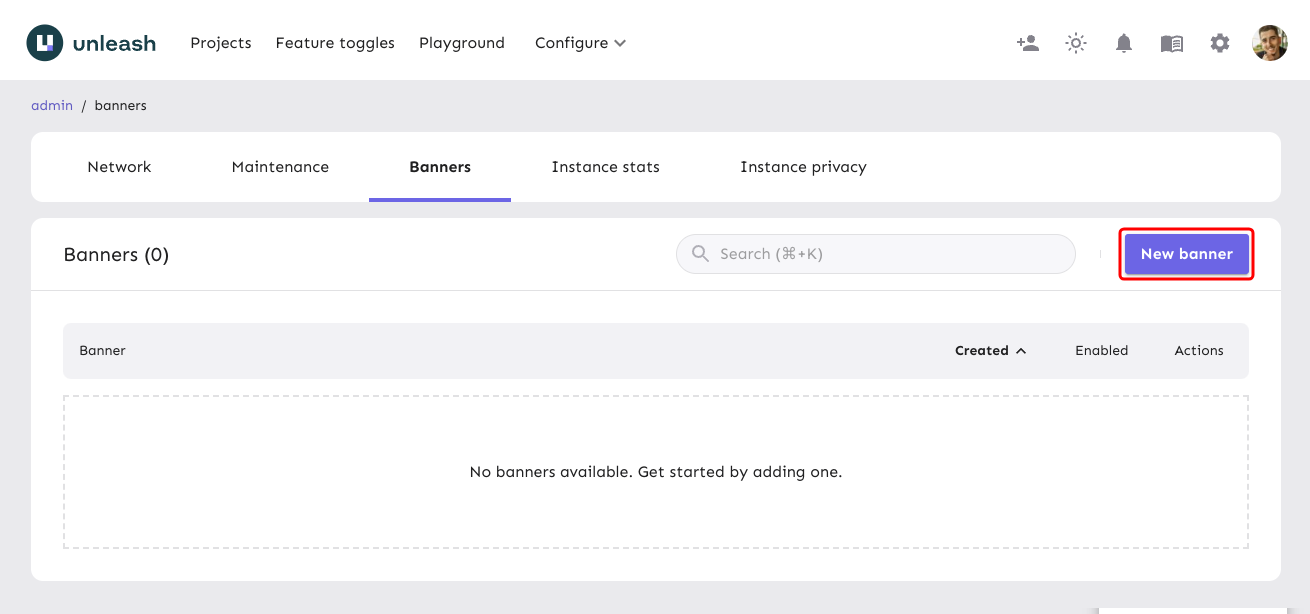
Use the "new banner" button to open the "new banner" form.
Step 3: Fill in the banner form
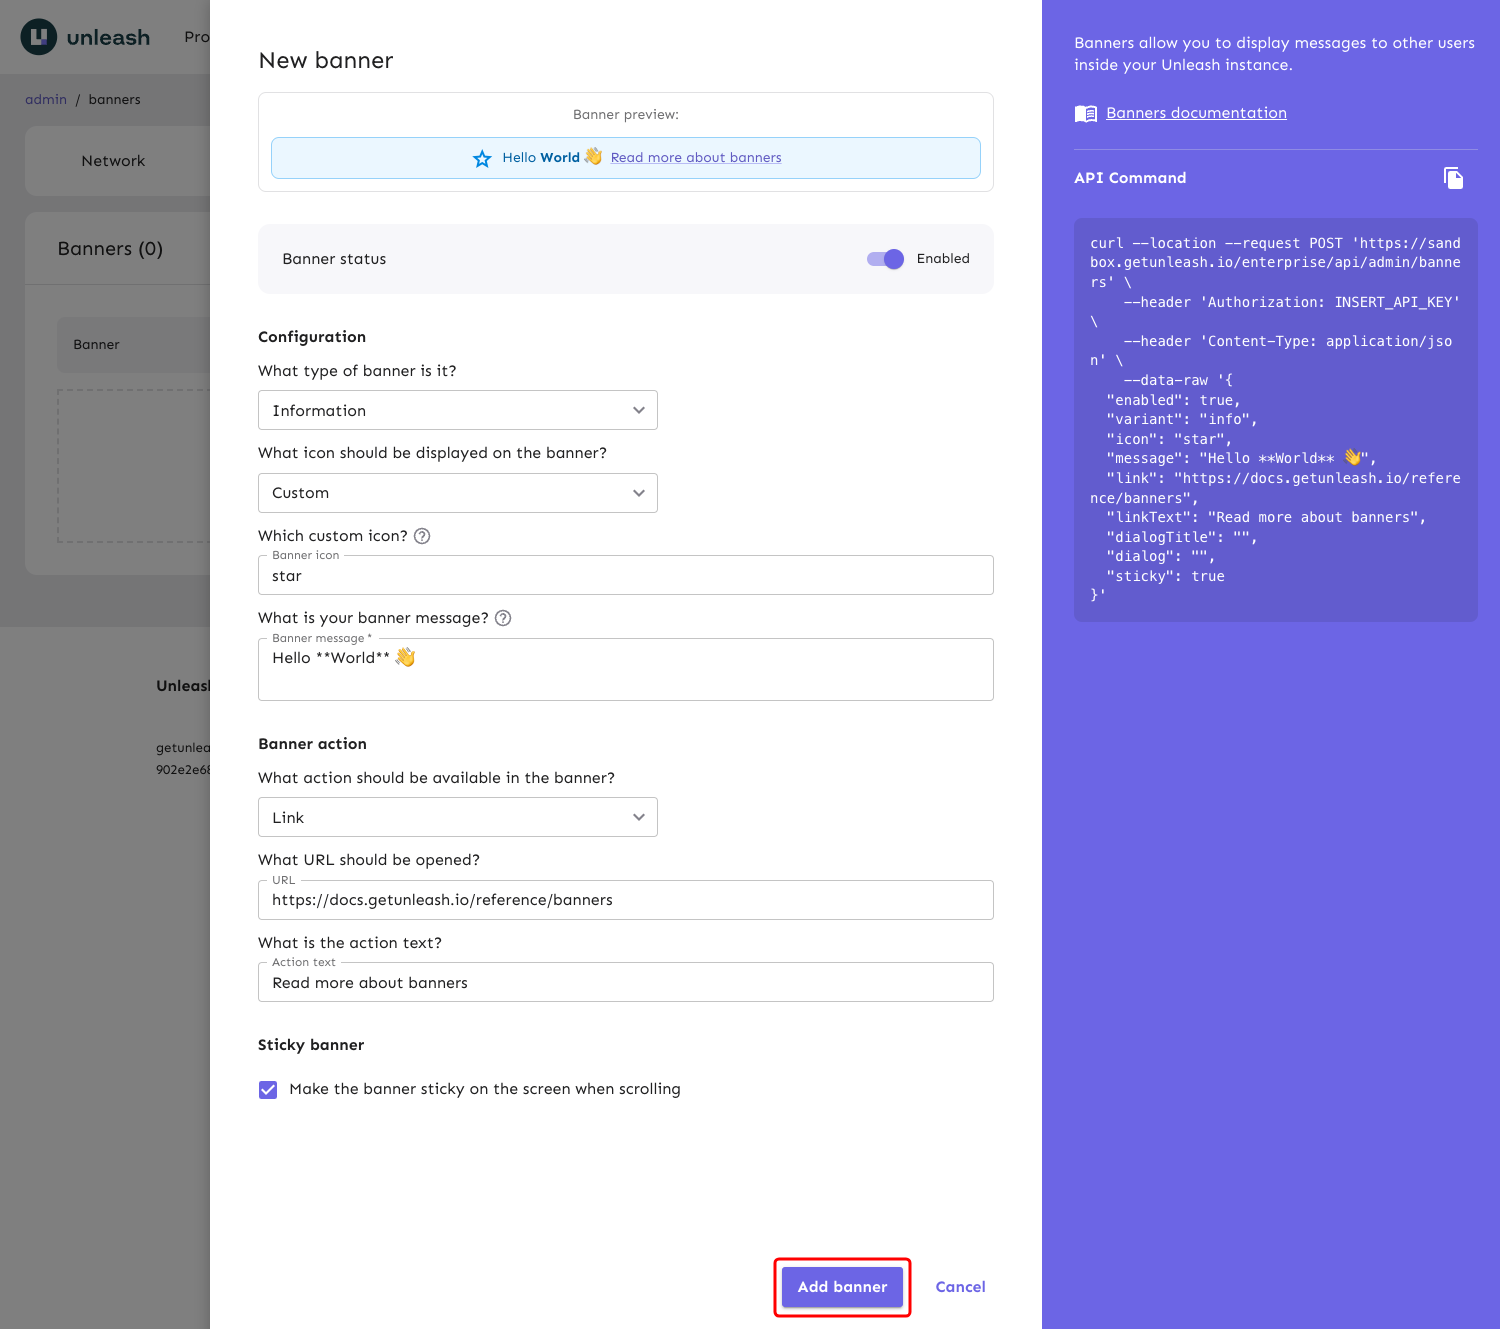
Choose whether the banner should be enabled right away. If enabled, the banner will be visible to all users in your Unleash instance. Select the banner type, icon, and write the message that you'd like to see displayed on the banner. The message and dialog fields support Markdown. Optionally, you can also configure a banner action for user interactivity. For a full overview of all the banner options, consult the banners reference documentation.
You'll be able to preview the banner at the top as you fill in the form.
Once you're satisfied, use the "add banner" button to create the banner.
Displaying banners
You can choose whether a banner is currently displayed to all users of your Unleash instance by toggling the "enabled" switch on the banner table.
Alternatively, you can edit the banner by using the "edit" button on the banner table and then toggle the "banner status" switch.
