This guide takes you through how to configure your user groups to automatically populate users through Single Sign On (SSO). Refer to setting up Keycloak for user group sync for an end to end example. Note that the steps below require you to be logged in as an admin user.
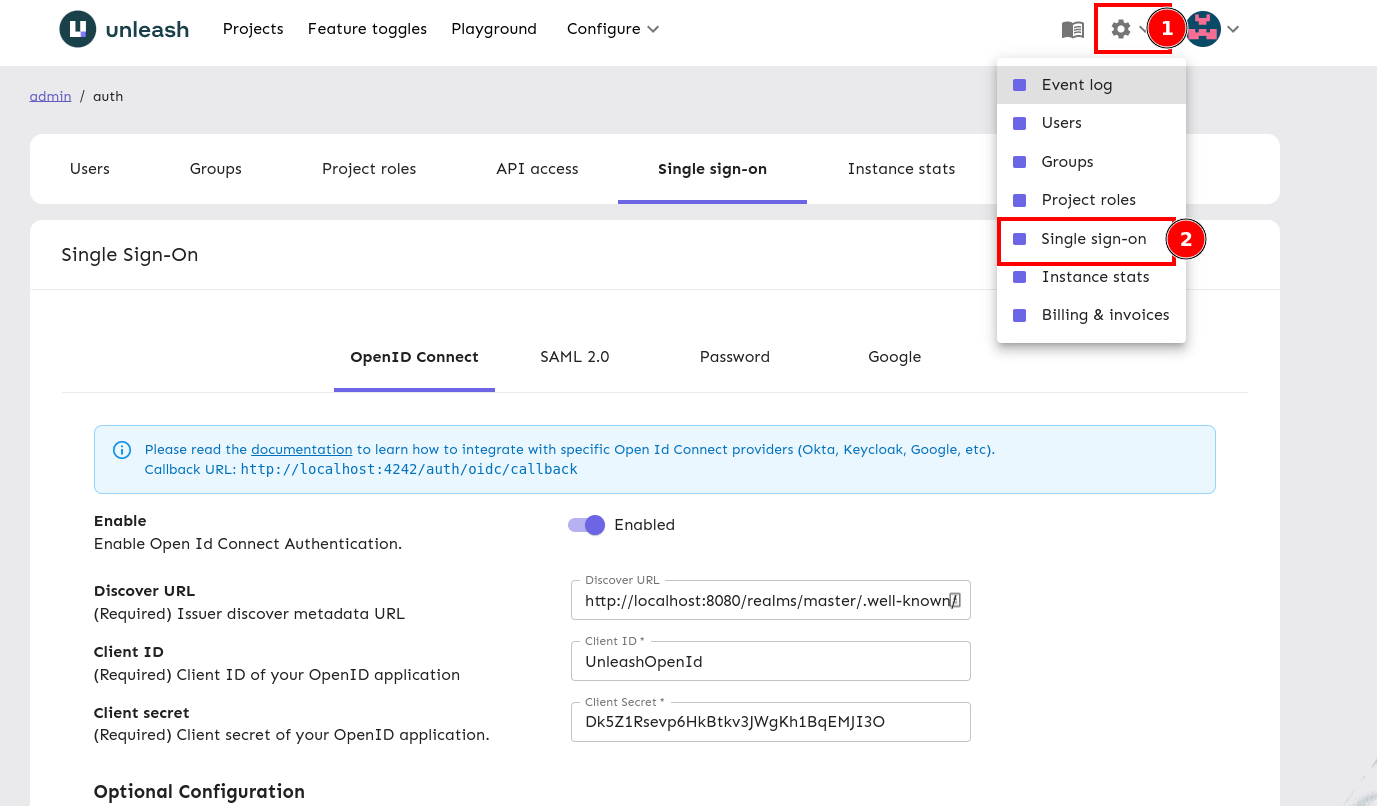
Navigate to the “Single sign-on” configuration page.
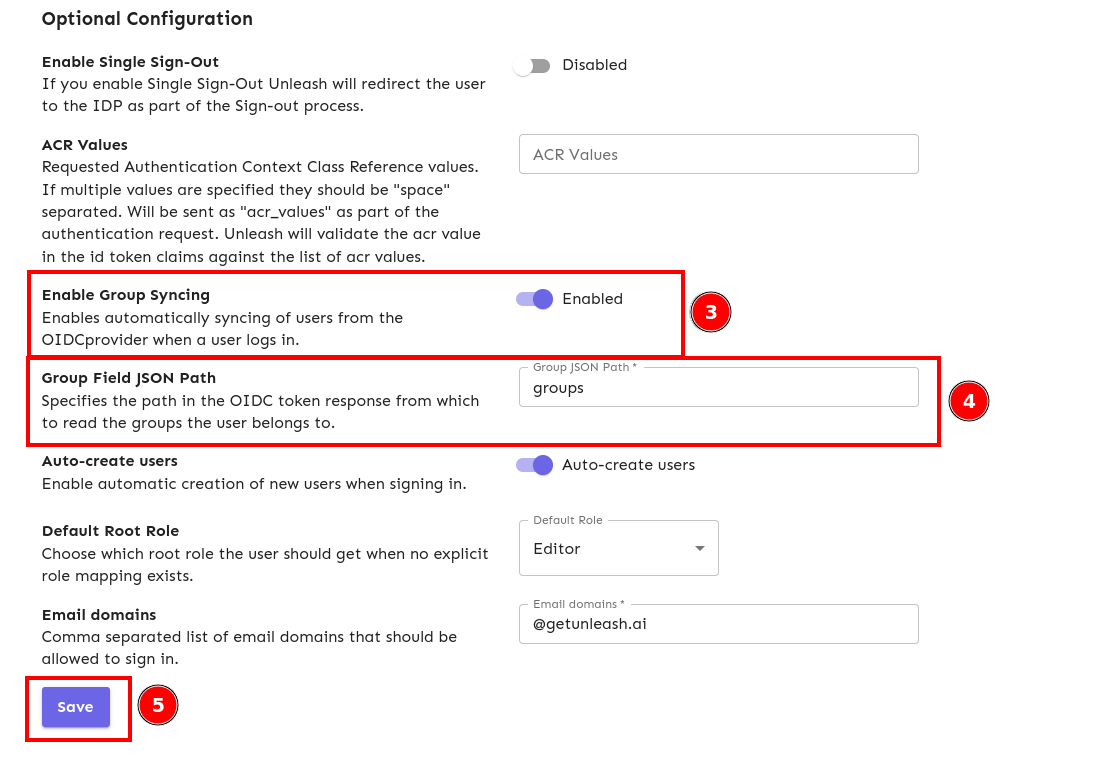
Turn on “Enable Group Syncing” and enter a value for “Group Field JSON Path”. Refer to the User group SSO integration documentation for more information or to the how-to guide for integrating with Keycloak for a practical example.
The value is the JSON path in the token response where your group properties are located, this is up to your SSO provider, a full example for Keycloak can be found here. Once you’re happy, save your configuration.
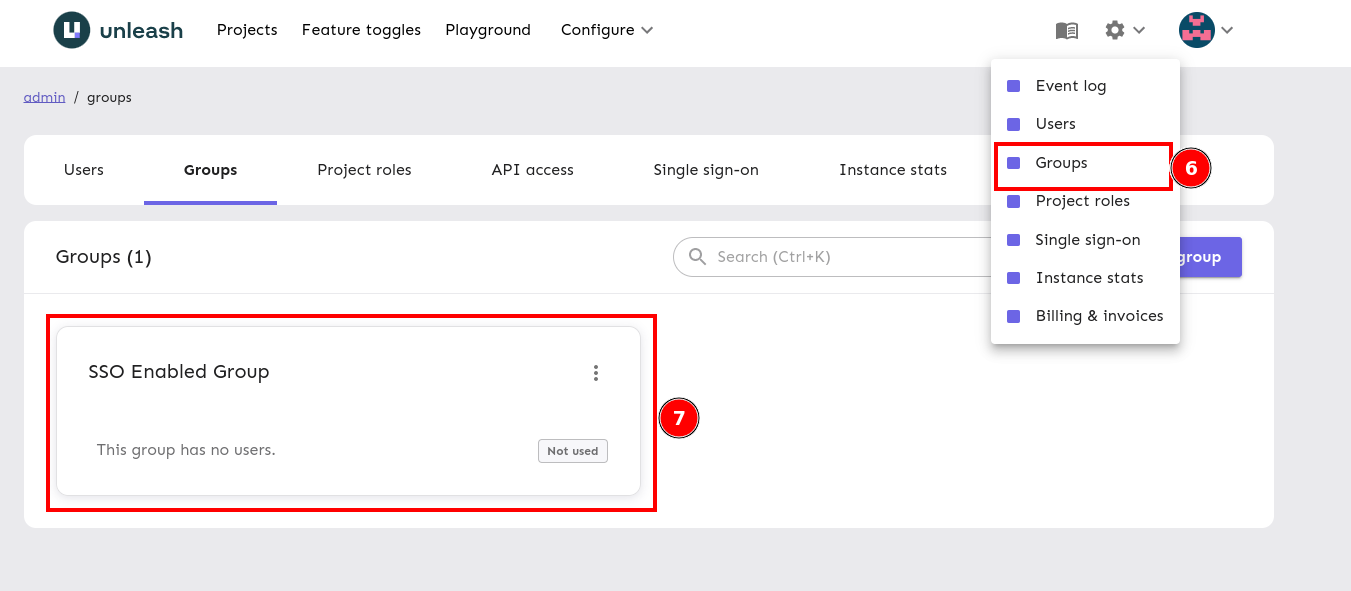
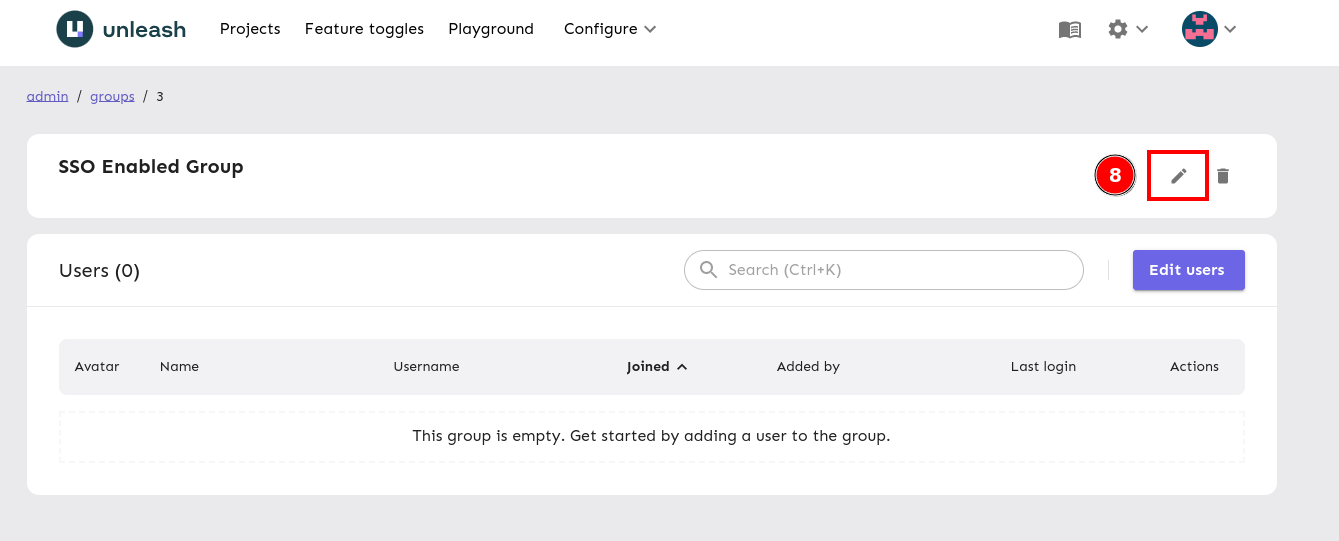
Navigate to the group you want to sync users for.
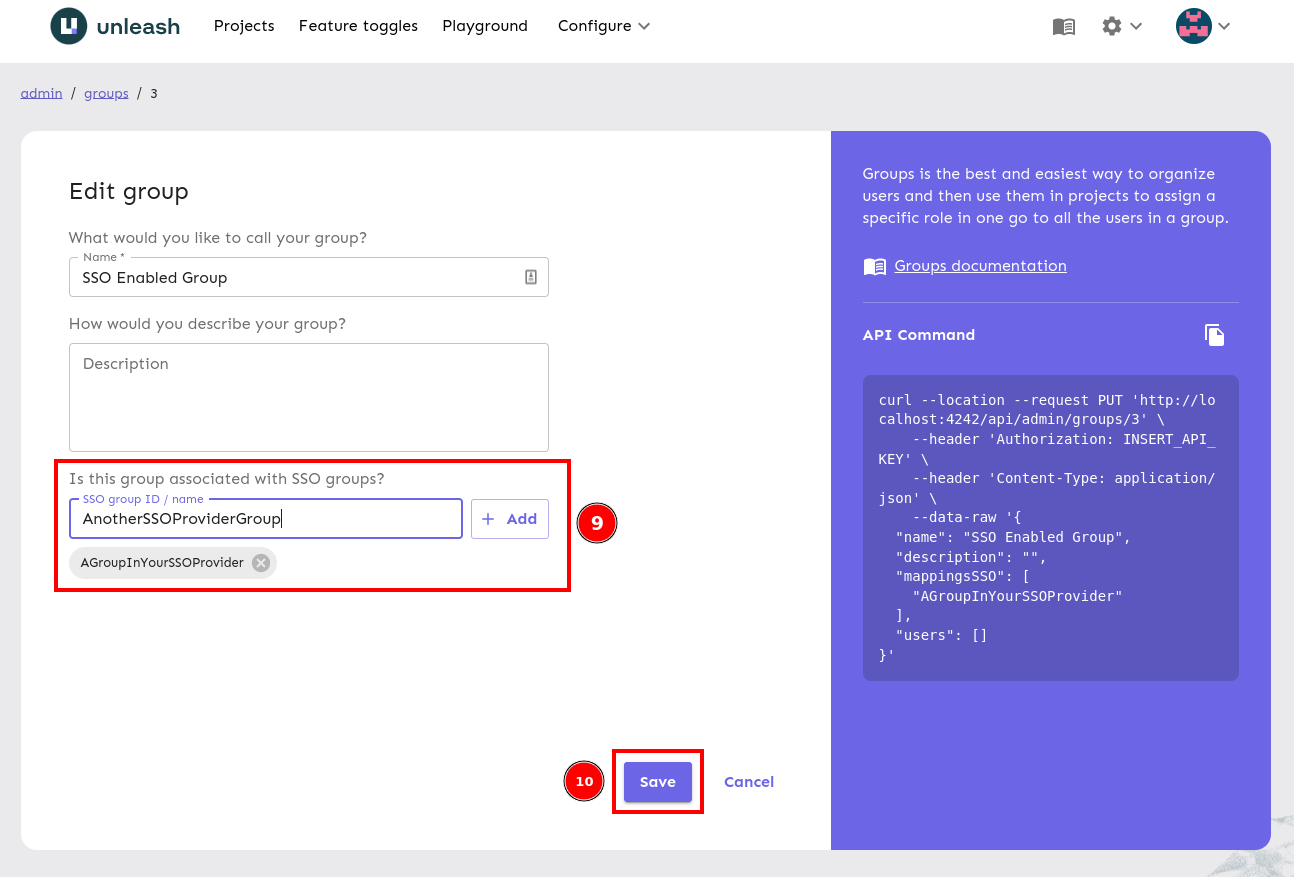
Navigate to edit group.
Link as many SSO groups as you like to your group, these names should match the group name or ID sent by your SSO provider exactly. Save your group configuration, the next time a user belonging to one of these groups logs in, they’ll be automatically added to this group.