Set up SSO with OpenID Connect
This guide walks you through setting up single sign-on (SSO) for Unleash using the OpenID Connect (OIDC) protocol, with Okta as the identity provider (IdP). Unleash supports a variety of identity providers and protocols; visit our reference documentation to explore other options.
Prerequisites
To follow along, you’ll need:
- An Unleash instance with Admin access.
- An Okta account with permission to create applications.
Create an OIDC application in Okta
To create a new OIDC application in Okta, do the following:
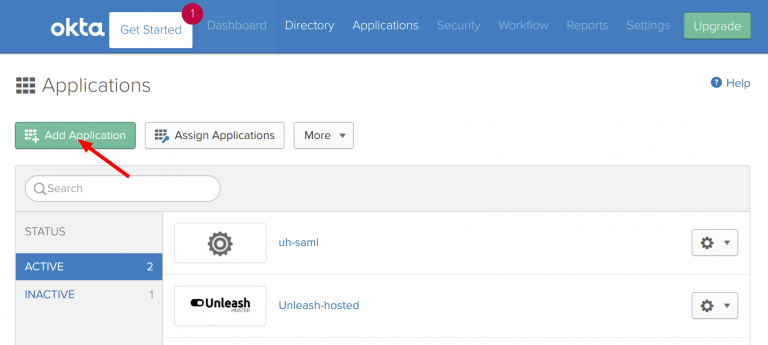
- Sign in to your Okta account and go to Admin > Applications.
- Click Add Apps, then Create Application.
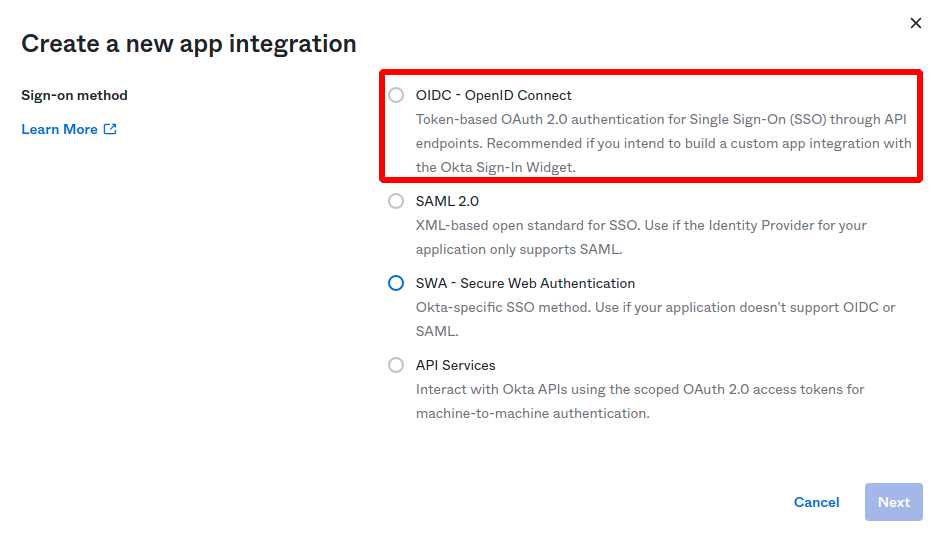
- Select OIDC - OpenID Connect, choose Web Application as the application type, and click Create.
Configure the Okta application
To configure the application, do the following:
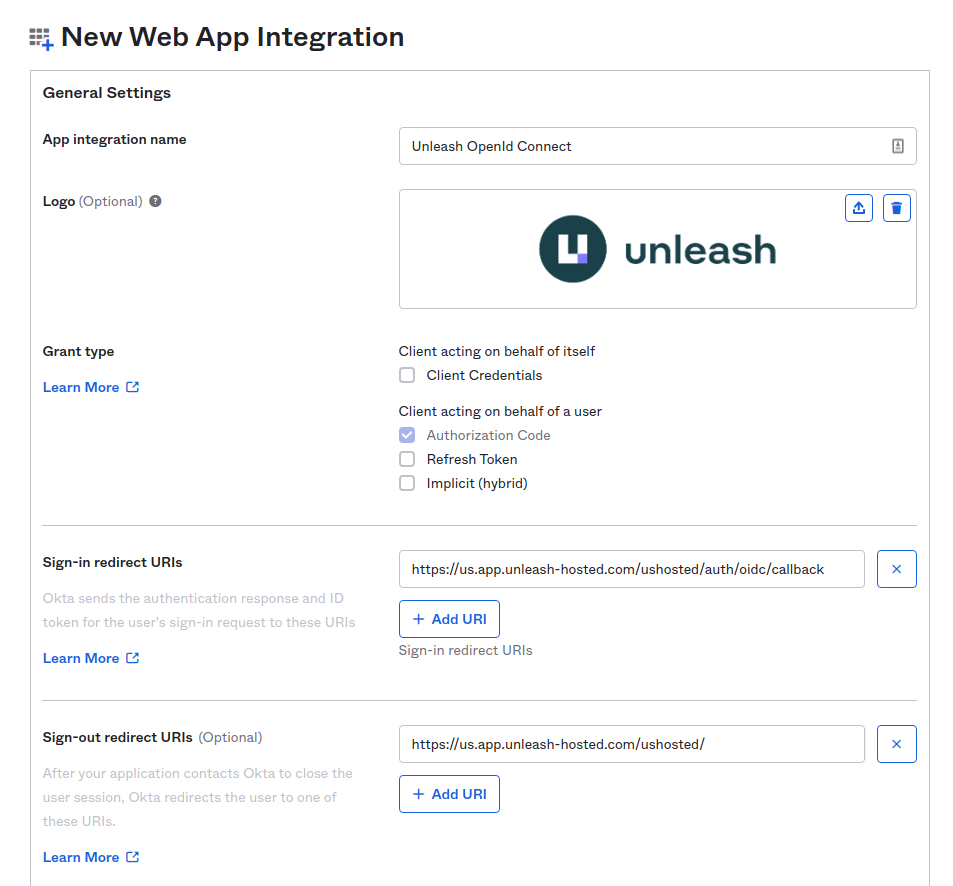
- Give your application a name.
- Set Sign-in redirect URI to
https://[region].app.unleash-hosted.com/[instanceName]/auth/oidc/callback. For self-hosted instances, the URL must match yourUNLEASH_URLconfiguration. - Optional: set Sign-out redirect URI to
https://[region].app.unleash-hosted.com/[instanceName]/. - Click Save.
After saving, Okta provides the Discover URL, Client ID, and Client Secret you need to configure the Unleash side.

Configure the OpenID Connect provider in Unleash
To finalize the configuration, do the following:
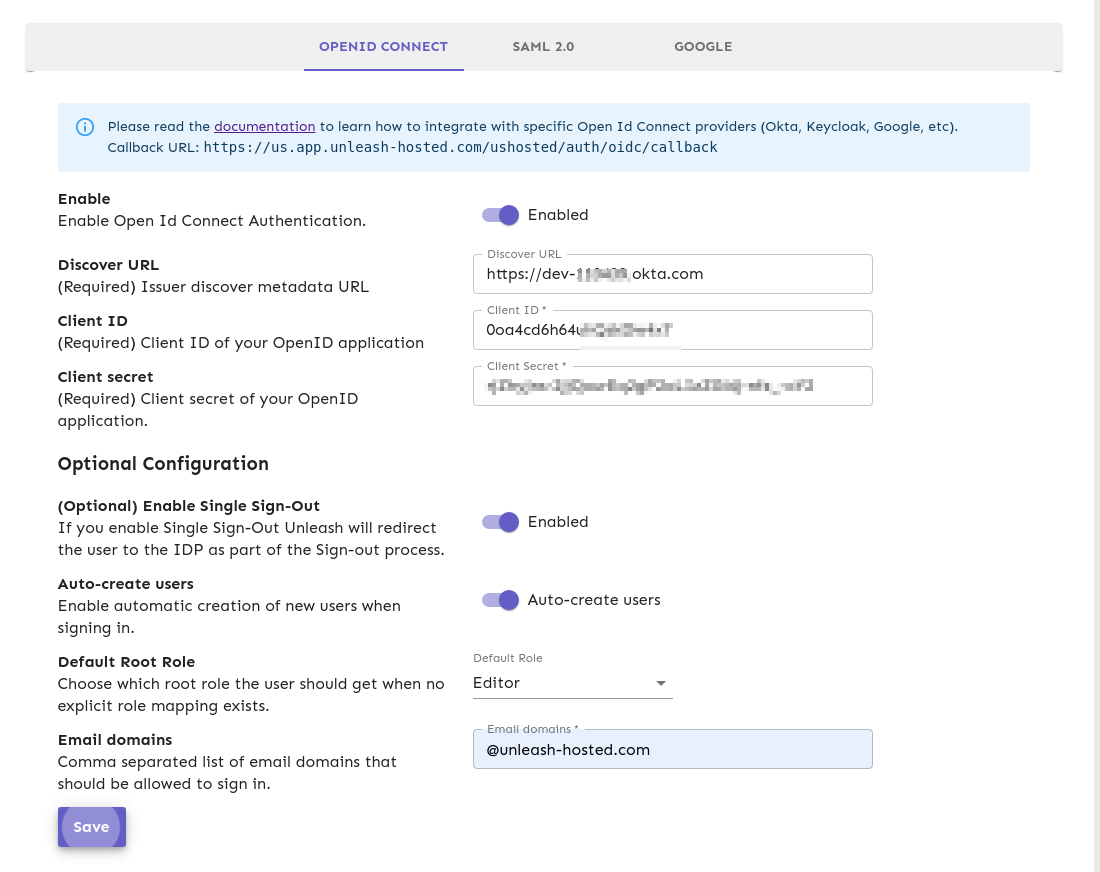
- In the Unleash Admin UI, go to Admin settings > Single sign-on > OpenID Connect.
- Enter the Discover URL, Client ID, and Client Secret from your Okta application.
- Optional: To automatically create users for first-time sign-ins, select Auto-create users. Provide a list of valid email domains and choose a default root role for new users. The default root role is Editor.
- Click Save.
The Discover URL must be a valid URL and include the https:// prefix. For example, https://dev-example-okta.com is a valid Discover URL.
Test your configuration
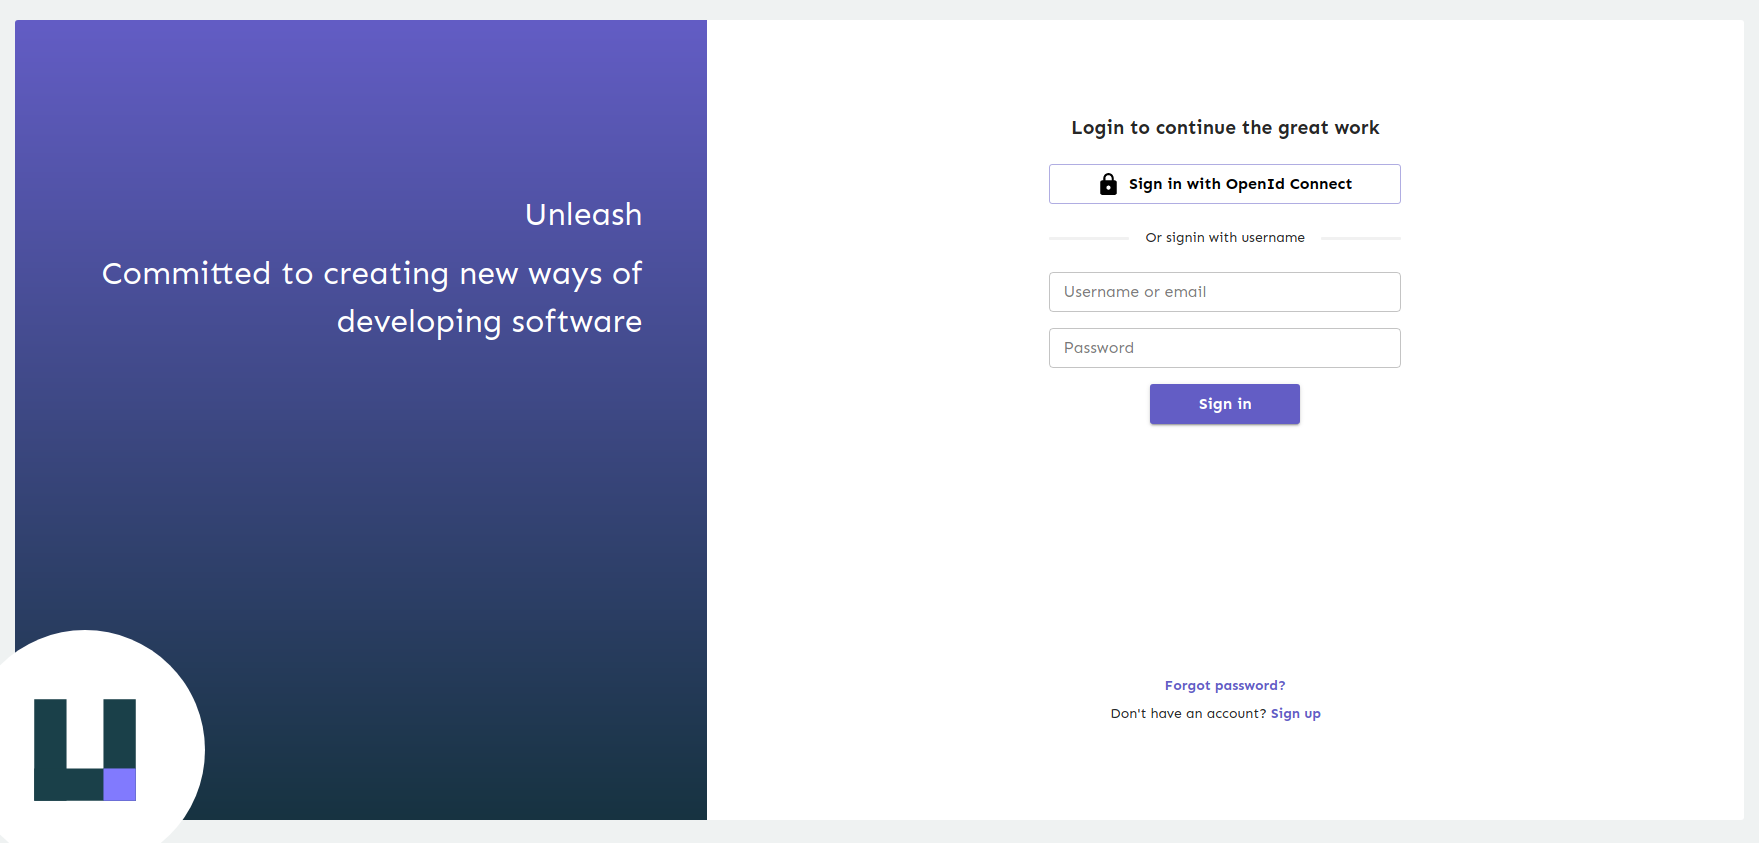
To test that things are working as expected, log out of Unleash and verify that the login screen gives you the option to sign in with OpenID Connect. Click Sign in with OpenID Connect and complete the sign-in flow.
If something is not working, you can still sign in with your username and password.
Configure OIDC through environment variables
Instead of configuring OIDC through the Admin UI, you can configure it through environment variables.
Configuring OIDC through environment variables disables editing the settings in the Admin UI. To fall back to the UI, unset OIDC_ENABLED and restart Unleash.
Required configuration
Tells Unleash to use environment variables to configure OIDC. Setting this to false turns off OIDC login.
URL used to dynamically retrieve the OIDC configuration. For example, https://myoidchost.azure.com/.well-known/openid-configuration.
The OIDC client ID of this application. For example, FB87266D-CDDB-4BCF-BB1F-8392FD0EDC1B.
Shared secret from the OpenID server, used to authenticate login requests.
Auto-create users
Configure these optional variables to automatically create Unleash users for SSO sign-ins from specific email domains.
Tells Unleash to auto-create users from the domains in OIDC_AUTO_CREATE_EMAIL_DOMAINS.
A comma-separated list of domains to auto-create users for. If not set, all domains are accepted. For example, getunleash.io,getunleash.ai.
The root role to grant users auto-created through SSO. Allowed values: Viewer, Editor, Admin.
Group syncing
Configure these optional variables to sync groups from your identity provider to Unleash.
Tells Unleash to set up group syncing from OIDC login requests.
A JSON path expression that tells Unleash where to find the group membership information in the response. For example, groups.
Tells Unleash to add the groups access scope to the request.
Additional options
The following variables are optional.
Authentication Context Class Reference. Used to request extra values in the acr claim returned from the server. If multiple values are required, they should be space-separated.
Use this only if your provider is failing with an unsupported algorithm; the default should be fine. Allowed values: RS256, RS384, RS512.
Whether Unleash should call the OIDC single sign-out endpoint. Requires Unleash v8 or later.
Space-separated list of additional scopes to request during login, beyond the default openid email profile and the groups scope if group syncing is enabled. For example, custom1 custom2. Requires Unleash v8 or later.